

Contents
Wire shelving is designed to go together without bolts or tools: plastic split sleeves clip onto grooved posts, and each shelf’s tapered corner collars wedge down over the sleeves. A standard four-shelf unit takes one or two people about 15 to 30 minutes. The part that decides whether the finished unit is stable and holds its rated load is not speed but accuracy: every sleeve at the same groove, every shelf seated fully, and the unit level before loading.
The Short Answer
To assemble wire shelving, snap split sleeves onto the same numbered groove on all four posts, slide each shelf down over the sleeves until the collars lock, then level the unit and tap each corner down firmly before loading. Build the bottom and top shelves first to create a rigid frame, then add the middle shelves. The locking system is a friction wedge: the more evenly the shelf is pressed down, the tighter it grips. That is why careless assembly, not the product itself, is the most common cause of wobbling units and sagging shelves.
Know the Parts
| Part | What It Does | What to Check |
|---|---|---|
| Posts (uprights) | Vertical load-bearing tubes with grooves, usually every 1 inch (25.4 mm) | Numbered grooves visible, no dents, leveling foot or caster stem fitted |
| Split sleeves | Two-piece plastic cones that clip around the post and lock into a groove | Both halves present, no cracks, taper pointing the right way |
| Wire shelves | Welded wire mats with a tapered collar at each corner | Collars round and undamaged, frame not bent in transit |
| Leveling feet | Screw-in feet that adjust height to compensate for uneven floors | Threads clean, all four installed |
| Casters (optional) | Wheels that replace the feet on mobile units | Two locking casters minimum, rating matches intended load |
Before starting, confirm the post length and shelf size match the order. A 72-inch post with 18 x 48 inch shelves is a typical configuration, but units ship in many sizes and mixing posts or sleeves from different manufacturers is a common source of loose fits.
Tools & Preparation
- Rubber mallet: the only tool most units need. Never use a steel hammer on collars or sleeves.
- Level: a small spirit level for the finished shelves.
- Clear, flat floor space: assemble close to the final location. A loaded unit should not be dragged.
- A plan for shelf heights: decide the spacing before clipping sleeves, based on the tallest item for each level plus finger clearance.
- Gloves: wire ends and post edges can be sharp before the unit is finished.
Step-by-Step Assembly
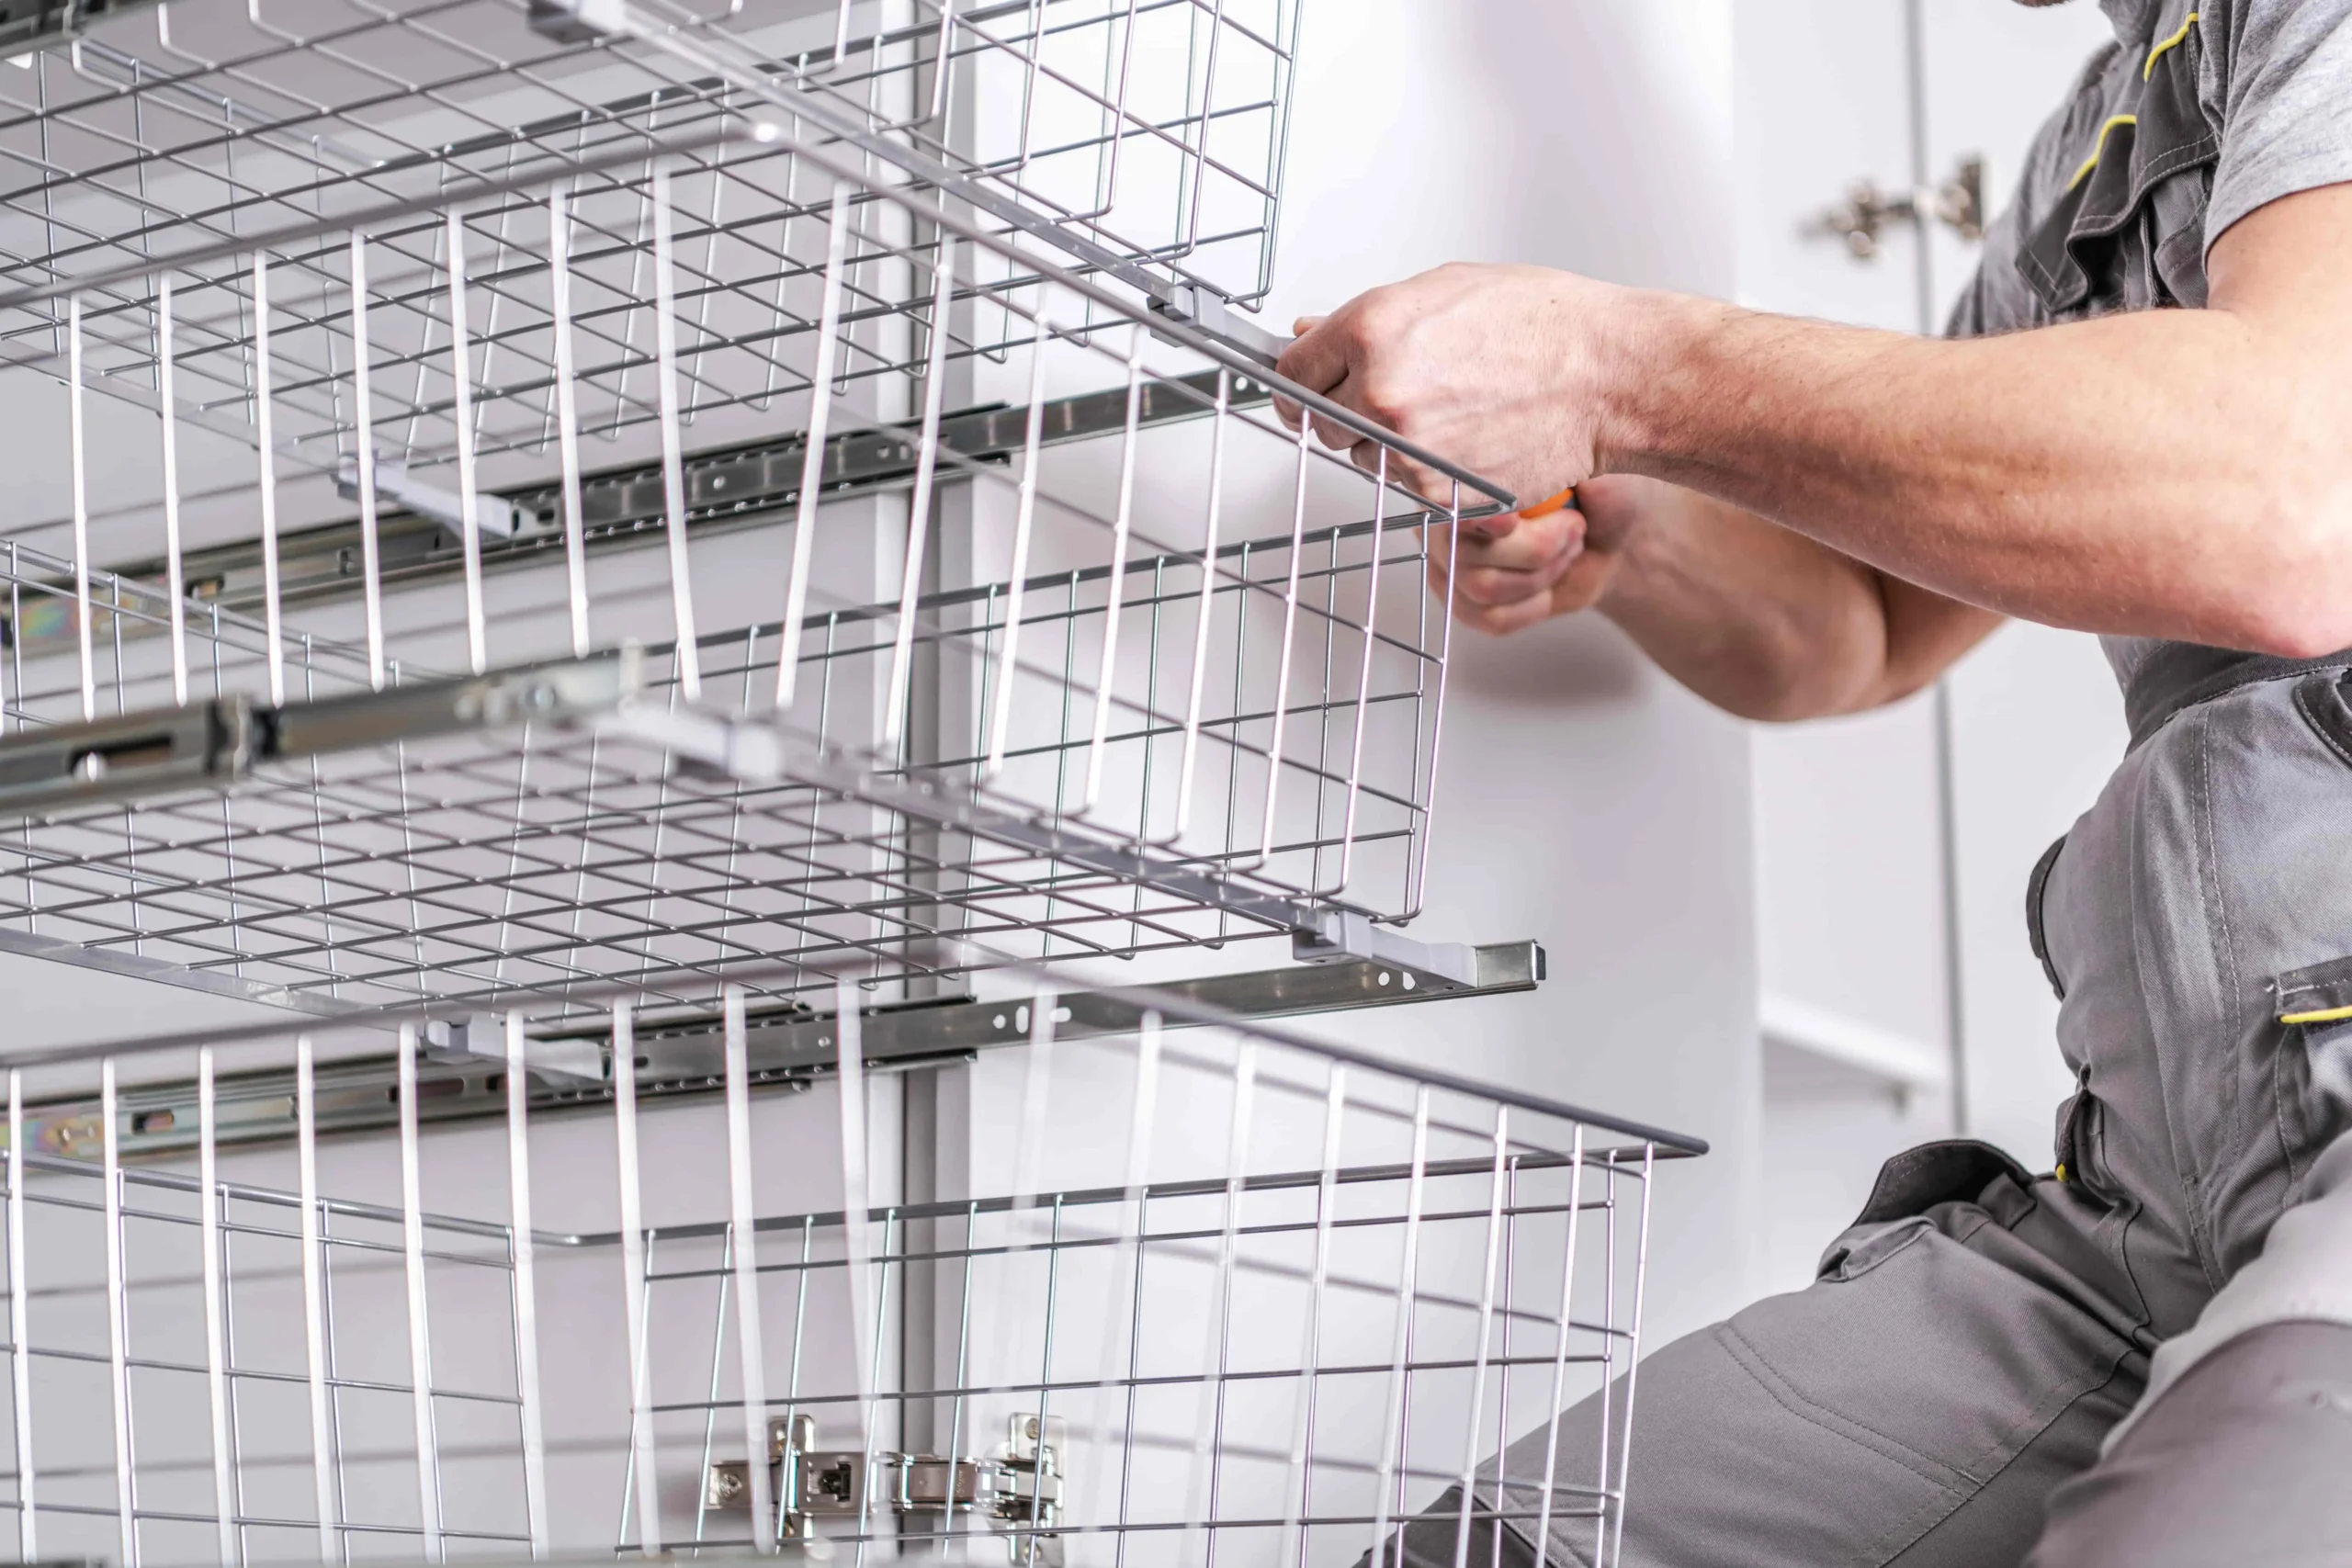
- Install the leveling feet. Screw a foot into the bottom of each post, leaving a few turns of thread so you can adjust later.
- Mark the shelf heights. Posts are numbered along the grooves. Pick the groove number for each shelf and use the same number on all four posts. This is what keeps shelves flat.
- Clip on the sleeves. Place the two sleeve halves around the post at the chosen groove, with the narrow end pointing up. The ribs inside the sleeve must sit in the groove, not on the smooth post.
- Set the bottom shelf. Stand the four posts up and slide the bottom shelf down from the top, collars over the sleeves. Many installers build the frame upside down on the floor for the first two shelves, then flip it.
- Add the top shelf. With top and bottom shelves in place, the unit becomes a rigid box. Stand it upright if it was built inverted.
- Add the middle shelves. Clip sleeves at the chosen grooves, then slide each shelf down and press it onto the sleeves.
- Seat every corner. Tap down on each corner of every shelf with the rubber mallet, near the collar, until the shelf stops moving. A seated shelf does not lift when you pull up on a corner.
- Level the unit. Place the level on each shelf front-to-back and side-to-side. Turn the feet to correct. Re-check that each corner is still seated.
Adding Casters
For a mobile wire shelving unit, casters replace the leveling feet. Stem casters are usually inserted into an expanding adapter in the bottom of the post. Keep these rules in mind:
- The casters set the capacity. A mobile unit’s total rating is limited by the casters and by rolling conditions, and is typically lower than the same unit on feet. Use the capacity stated for the mobile configuration.
- Fit the bottom shelf low. Mounting the bottom shelf a few inches off the floor lowers the center of gravity and stiffens the base.
- Use locking casters diagonally. Two locking casters on opposite corners prevent the unit from drifting.
- Consider bracing. Tall mobile units benefit from corner or back bracing to limit racking (sideways sway) when pushed.
Common Assembly Mistakes
- Sleeves on different grooves. Even one groove difference tilts the shelf and loads the posts unevenly.
- Sleeves upside down. An inverted taper cannot lock the collar.
- Loading an unseated unit. The shelf may drop under load instead of locking.
- Skipping the leveling step. An out-of-level unit puts more load on one post and can rock.
- Mixing brands. Groove spacing and collar tapers vary between manufacturers.
- Top-heavy loading. Heavy items belong on the lower shelves, especially on tall or mobile units.
Adjusting & Disassembling
To move a shelf, unload it completely first. Then tap upward on the underside of each corner, close to the collar, to break the wedge. Some installers support the shelf on a block and tap the collar up evenly. Once free, move the sleeves to the new groove and reseat as before. Inspect sleeves when reconfiguring: a cracked or stretched sleeve should be replaced, since it can no longer grip reliably.
For units in wet or cold areas, choose a finish suited to the environment before assembly. Chrome wire shelving suits dry areas, while coated wire shelving and stainless steel wire shelving are better for humidity and washdown.
FAQ
Do you need tools to assemble wire shelving?
Usually only a rubber mallet and a level. The split sleeve system locks without bolts or screws.
Which way do wire shelving sleeves go?
The narrow end of the tapered sleeve points up and the wide end points down, so the shelf collar wedges down onto it.
Why is my wire shelf wobbly?
The most common causes are sleeves on different grooves, shelves that aren’t fully seated, or an unlevel floor. Re-seat each corner with a mallet and adjust the leveling feet.
How do I remove a wire shelf that is stuck?
Unload it, then tap upward on the underside of each corner near the collar, working around the shelf evenly until the wedge releases.
How long does wire shelving assembly take?
A standard four-shelf unit typically takes 15 to 30 minutes. Larger projects go faster with two people and a pre-planned shelf height chart.
